

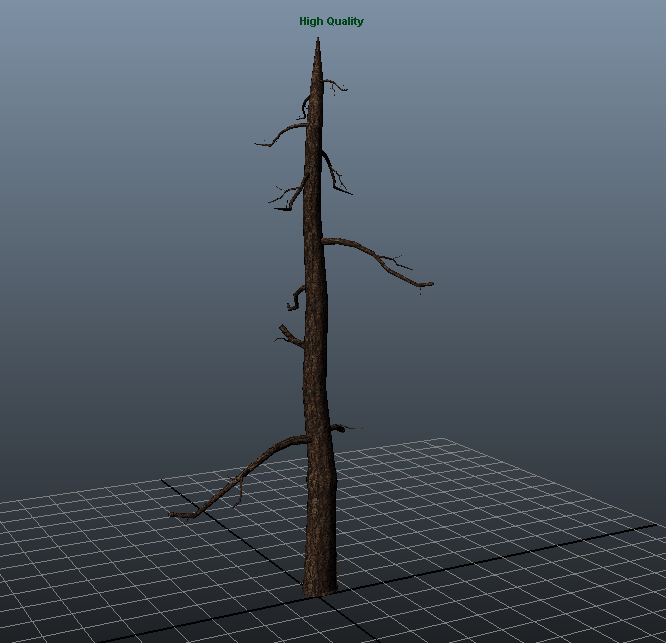
What you need to start, is just your model! For this, I've modeled a dead pine tree, for the ivy to grow onto, did the UV layout, put on some bark, a bumpmap etc ... I'm not bothering with tons of detail on this tree, as it won't be that upfront in my scene, and the ivy will cover most of it.
Exporting this to .OBJ gives an issue when importing in Ivy generator. The reason is that Ivy generator can only work with triangles. So Make sure you triangulate your mesh before exporting, and all will be dandy.
Once inside ivy generator, press the import button and select your .obj file. This will show your object in the preview window:

First, here's the most important of the growing settings:
Ivy Size: This is all about scale. It affects the way it grows, how easy it will get how high etc ... This setting, however, has no impact on vine thickness of leaf size. Depending on the unit setting in maya, or the scale you built your object on, you will have to change this settings untill you get a growth that feels natural in size.
Adhesion Weight: This setting determines how much the ivy will want to stick to a surface.
Branching Probability: all about how "knotted" your endresult will appear. If its growing to chaotic and wild, use this to simplify the branching of your ivy.
Maximum Float Length: this controls how far your branches can float through the air looking for other surfaces before stopping.
To get started, Simply doubleclick on the point where you want the ivy to sprout from, and you'll get a green dot. Then press the grow button and watch the creeping miracle of life! Click the grow button to stop the growth when you're happy with what you've got.
Now on to giving birth to your baby! Try a few times with different leaf sizes and branch thicknesses, to make sure the scale corresponds with your scene. We don't wont to end up with leaves the size of a small car. Unless you are ofcourse...
Getting everything right in Ivy Generator is crucial for a convincing ivy plant on your object. Once you are happy, export the object. This will result in an .obj file and a .mtl file containing the material.
Now the Obj file exported works perfectly well, the mtl however, has an issue when importing into Maya. It took me a while to pinpoint the cause of this, but here's what I found:
Open the .mtl file in your favorite text editor, This is what you'll see:
newmtl leaf_adult
map_Kd efeu1.png
newmtl leaf_young
map_Kd efeu0.png
newmtl branch
map_Kd efeu_branch.png
Simply edit the file and save it so it looks like this:
newmtl leaf_adult
Ns 1
map_Kd efeu1.png
newmtl leaf_young
Ns 1
map_Kd efeu0.png
newmtl branch
Ns 1
map_Kd efeu_branch.png
Now, from the textures folder of your ivy generator install, copy the textures into your sourceimages folder of your maya project.
when you import the object again, you can see the mtl actually gets loaded. Yet the white parts are not left out, and the shader settings are not right at all.
First of all, the leaves in my case, all seem to be upside down. Go into your hypershade window, show the graph for the leaf material, and select the first node in the row, and rotate UV 180 degrees.

Do the same for the young leaves node.
Next up is the transparency. The texture files included in ivy generator are PNG's with the white area supposed to be transparent. Right now they are not, simply middle mouse click and drag from the texture file to the shader, and select transparency.

So between the middle node and the shader node you should have 2 connections:
outcolor -> color
outTransparency -> Transparency
I thought the leaves were looking way to plastic-ish, so I edited the default shader settings to a much smoother highlight, less reflectivity, to getthe feeling these plants do need watering. If this is going to be up close in your scene, I do recommend going much further in getting the material to look and feel like real leaves. You can also download the texture pack on Ivy Generator's website, that includes the normal maps, bump maps, etc ...
Geen opmerkingen:
Een reactie posten